To access this feature, it must first be enabled by a user with admin rights on your cloud site. You can follow these steps to do so.
This feature can be enabled in an Engagement by answering the following question in the startup checklist:

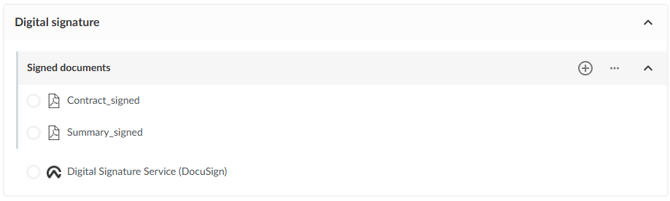
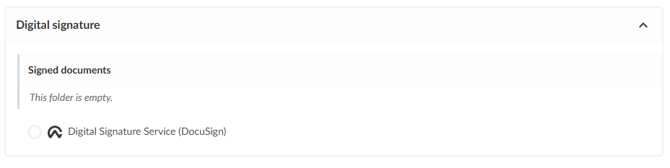
After this, a new folder will appear on the Documents page:
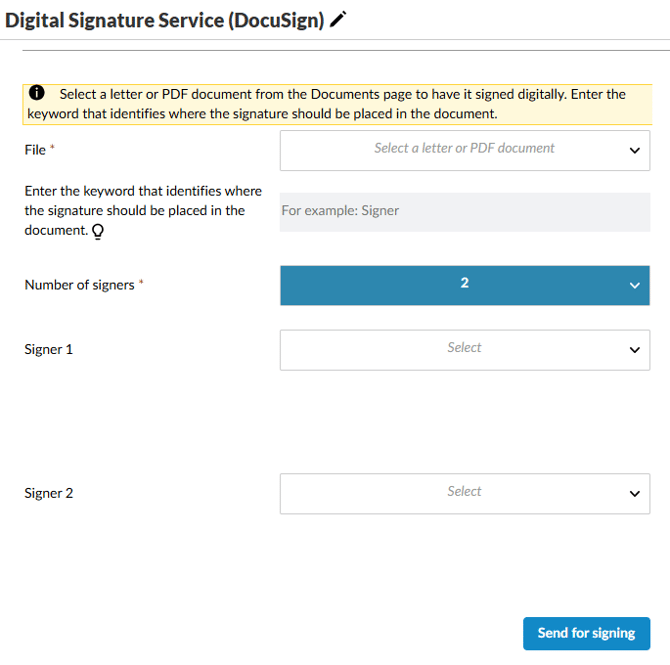
In the Digital Signature Service form, you can fill in the following information:
-
File
-
Here you can select which file will be sent for signature.
This list includes the Engagement's standard letters and all PDF files that have been uploaded to this file.
-
- Keyword:
- The standard letters use the keyword Signer to indicate where the signature will be placed.
If you want to send your own PDF file or letter, you can use the keyword Signer or any other word you can enter here.
To do this, place the keyword in a text box at the location in the document where the signature should appear, as shown below: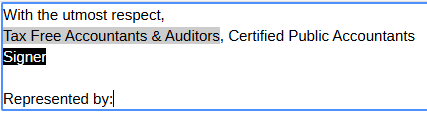
- The standard letters use the keyword Signer to indicate where the signature will be placed.
To hide this keyword in the document, you can change the text color so that it matches the background.
In the example above, the keyword was highlighted with a black background to demonstrate this; in the actual document, this text appears in white on a white background.
- Number of signers
- You can specify how many signatures are required on this document; this determines how many people this file will be sent to.
- Signers
- You can specify who should sign this document.
This list is based on the contacts who have access to the entity where the file is located.
You can follow these steps to grant a contact access to an entity:
https://www.caseware.be/nl/knowledge/file-review
- You can specify who should sign this document.
If the document was sent for signing, the person who sent it will receive updates from DocuSign via email.
Once all signers have signed the document, it will be placed in the Digital Signature folder.
You can also find a summary here that shows the signing process: